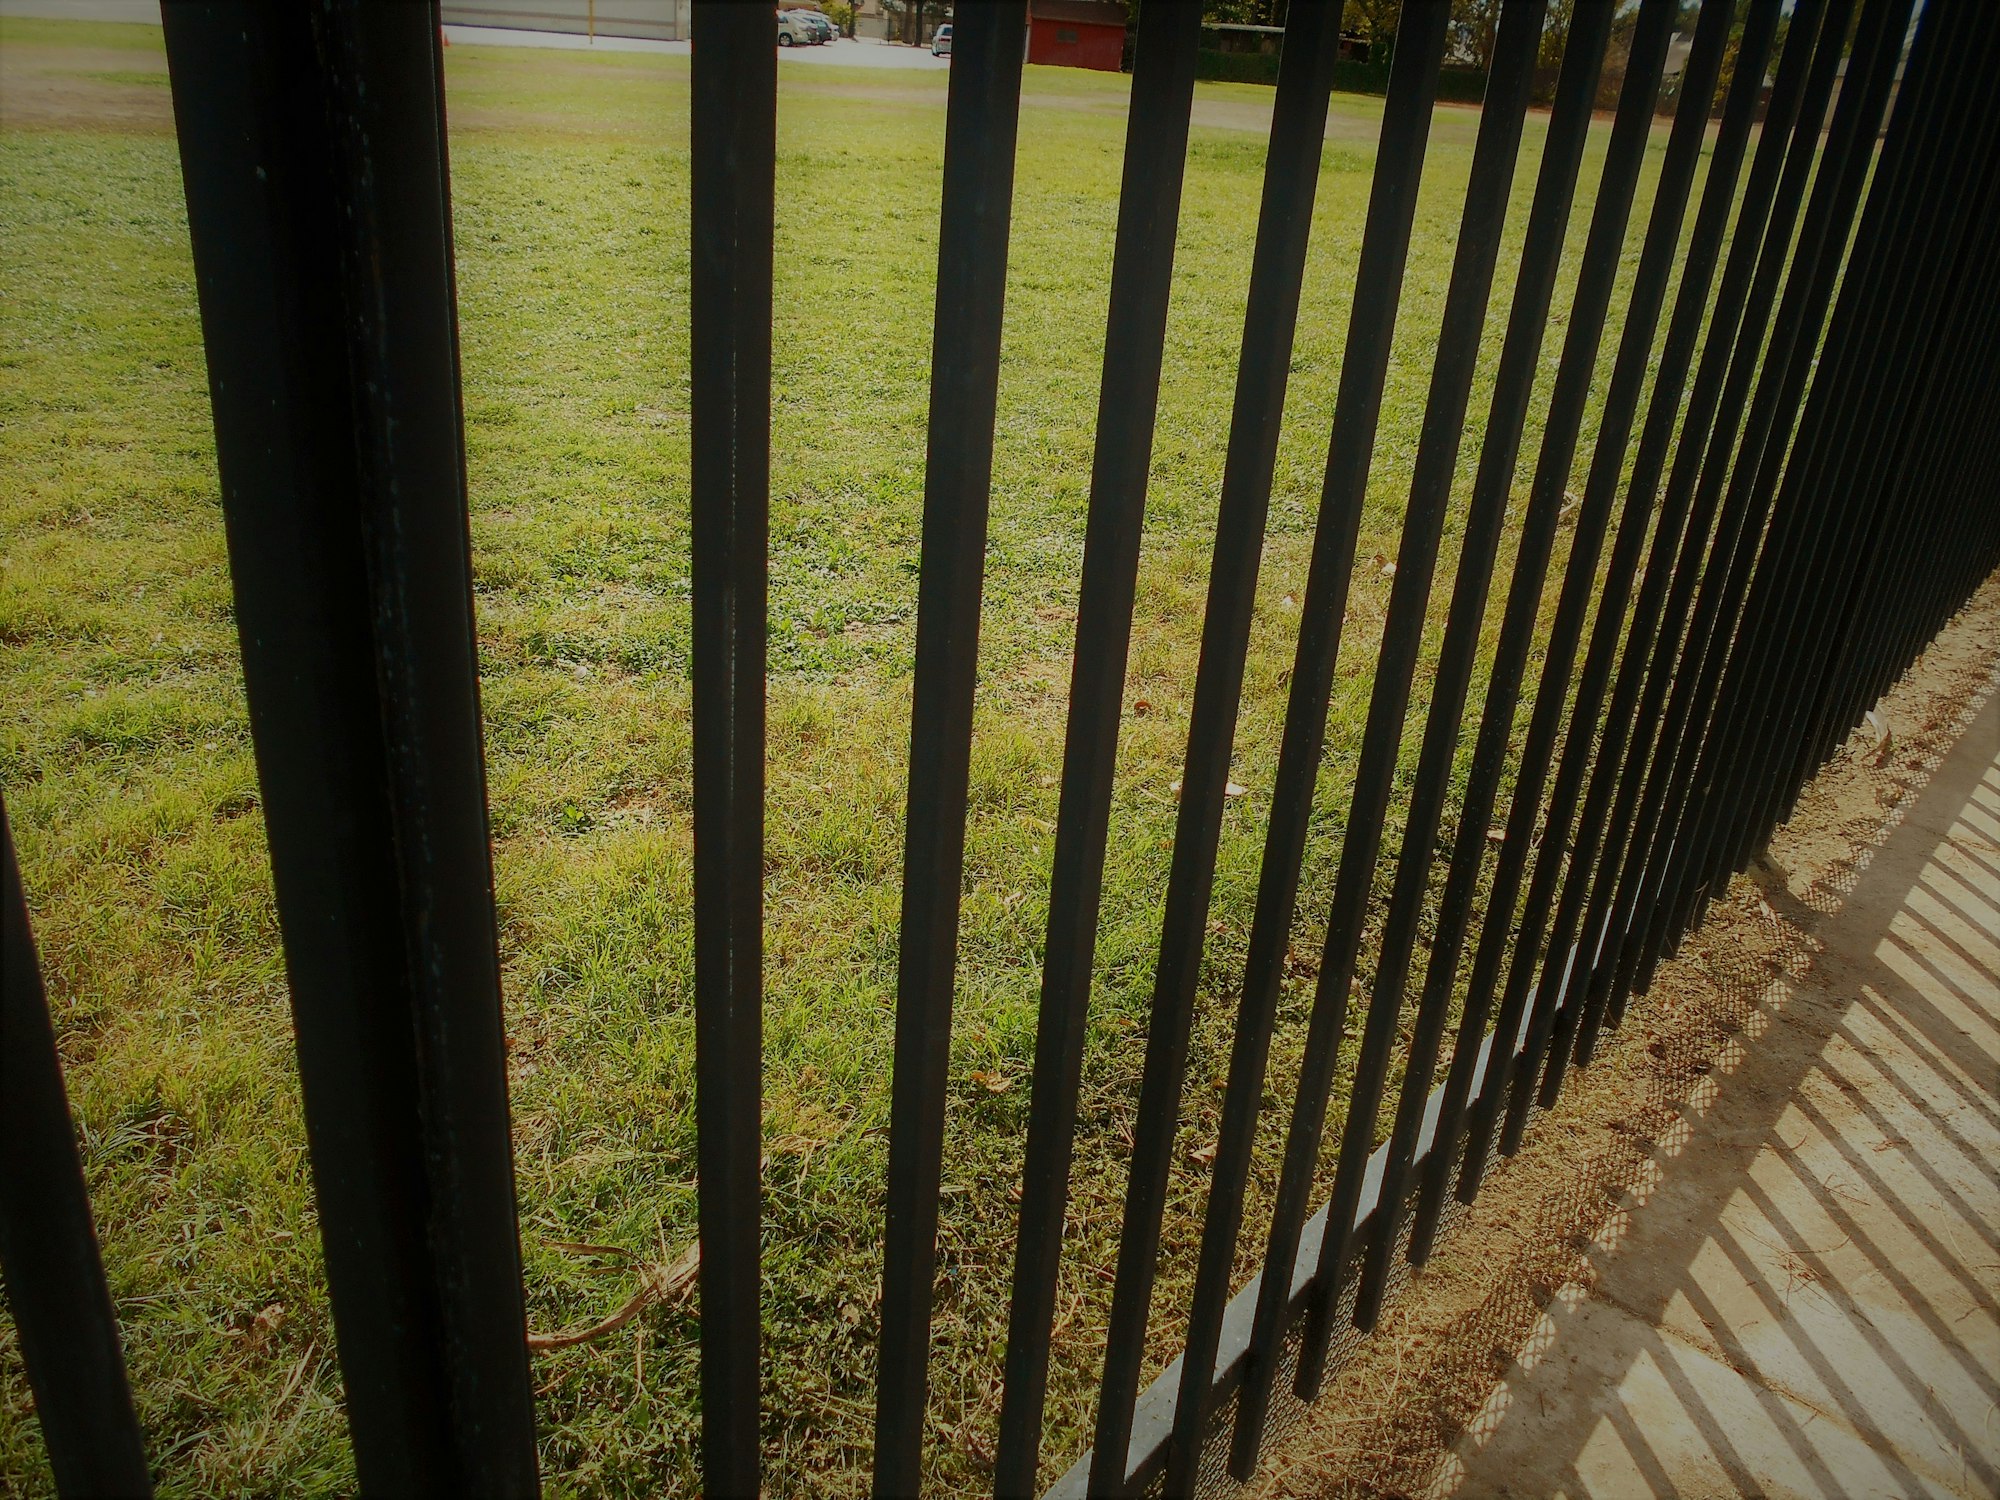
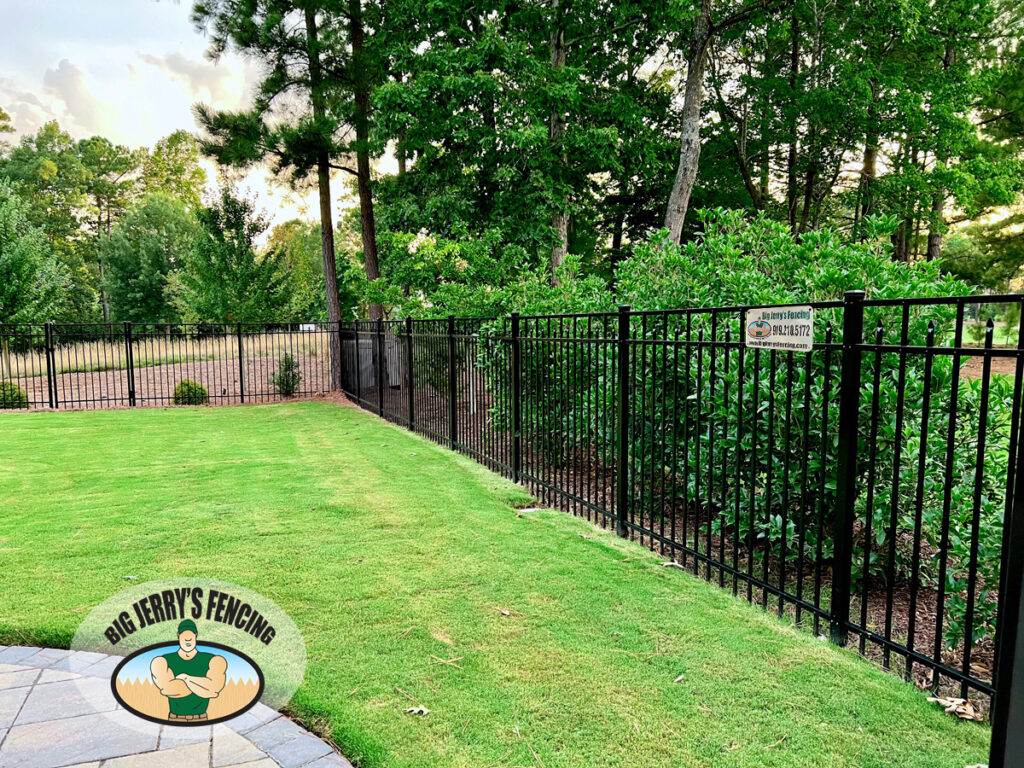
An aluminum fence is one of the easiest fences to do yourself due to its lightweight and relatively low assembly. An aluminum fence combines the look of wrought iron with the benefits of maintenance-free aluminum. Manufactured with the strictest quality standards and state-of-the-art compounds to resist peeling, flaking, corrosion, rotting, or rusting, aluminum fences are one of the fastest-growing fence types around the country. Exceptionally weather-resistant and low maintenance, an aluminum fence will keep its beautiful appearance for many years after it is installed at your home. This DIY guide discusses how to install an aluminum fence in your yard.
Required Tools:
- Post Hole Digger or Auger
- Circular Saw or Skill Saw
- Impact Drill
- Measuring Wheel
- Tape Measure
- Mason Line
- Level
- Pencil
Required Materials:
- Aluminum Fence Panels
- Aluminum Line Posts
- Aluminum End Posts
- Aluminum Corner Posts
- Concrete
Plan Your Fence Layout
Step 1: Call 811 before you dig to have your utility lines marked. This will tell you where you cannot dig, and ultimately may impact the final design of the fence layout. Learn more about calling before you dig/
Step 2: Measure each fence line that you plan to install fencing. You can use a measuring wheel or a tape measure. Use spray paint to mark where the fence starts and stops and each corner. If you are installing an aluminum gate, mark the gate opening as well.
Step 3: Make a material list. Aluminum fence panels usually come in 6- or 8ft wide sections. Divide your fence lines by the width of the panel to determine the number of fence panels you need. Subtract one from that fence panel count to determine how many line posts you need. You will need one corner post for each corner, or 90-degree angle, in your fence layout. An end post will be required everywhere the fence terminates. End posts are needed where the fence meets the house and at the end of any straight line of fence. If you install an aluminum gate, you will also need an end post for the latch post. There are separate gate posts used for the hinge side of the gate. They look like end posts but have thicker walls to support the swinging weight of the aluminum gate.
Step 4: Run your string line for your fence lines. Install an 18-inch stake at each corner and end, as well as any steep changes in grade. Tie a string from stake to stake and make sure it is taut. Doing this will ensure that your fence lines are straight. Run the string through all your gate openings to ensure the gate is in alignment with the rest of the fence. DO NOT eyeball the placement of your fence posts, always use mason line when installing a new fence.
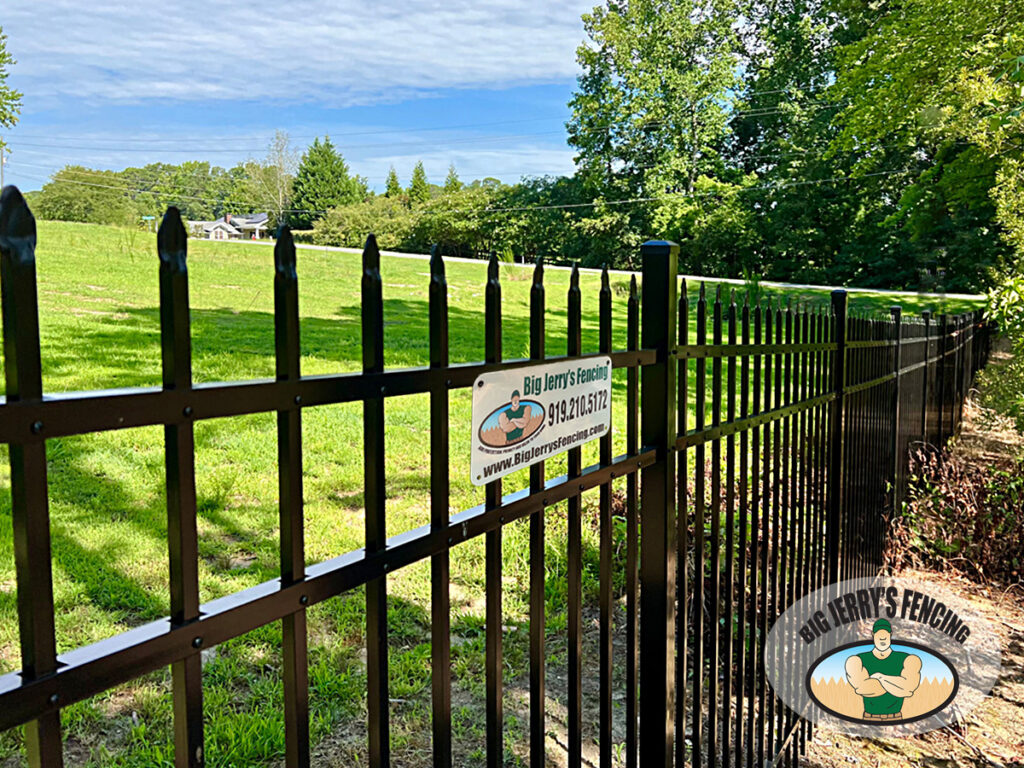
Dig Your Fence Post Holes
Step 5: Using a post hole digger or auger, dig your post holes in the ground. Fence posts will be set the distance of the fence panel you are using, for example if you are using 6ft wide aluminum fence panels then dig your fence post holes 6ft apart on center. Regarding the depth of the fence post hole, the rule of thumb is you want to set your fence posts in the ground 1/3rd of the total fence height. So, if you have a 6ft tall fence, you will want your fence posts to be set at least 2ft in the ground. Refer to local building codes for guidelines on how deep fence posts need to be dug into the ground in your area.
Prepare Your Fence Posts
Step 6: Install the fence post caps on top of the fence posts prior to setting the posts. Use a rubber mallet to tap the post cap on to the post without scratching or denting the post caps.
Install the Fence Posts and Fence Panels
Step 7: Install the first aluminum fence post. Determine which end you want to start the fence installation and place your end post in the middle of the first fence post hole. The holes in the post should face the direction in which the fence is being installed; these holes are where the fence panels will be placed. The fence posts should touch the mason’s line without pushing it outward. When setting your fence posts in the ground, check that the fence posts are level and plumb to ensure a good aluminum fence installation. Pour concrete mix into the fence post hole and follow the mix instructions. In some areas, the ground moisture will act with the concrete mix and cure or harden in 48-72 hours.
Step 8: Insert an aluminum fence panel into the holes that are notched out of the aluminum fence posts.
Step 9: Install the remaining fence posts and panels in this pattern: post, panel, post, panel. Ensure that the fence posts are level and level and that they touch the mason’s line throughout the installation.
Use the fence posts in their appropriate location.
- Line posts have holes that support fence panels on each side, going in a straight line.
- End posts have one set of holes facing the direction the fence is being installed.
- Corner posts have holes on perpendicular ends of the fence post, allowing for a fence line to take a 90-degree turn.
Step 10: Secure the aluminum fence panels to the aluminum fence posts. Using your impact drill, fasten the self-tapping screws that are usually provided when you purchase the aluminum fence material. Allow the concrete to be fully set before testing the stability of your fence. Shaking the aluminum fence posts or aluminum fence panels before the concrete has had the time to cure can result in cracks in the concrete footer. It will compromise the integrity of your newly installed fence.
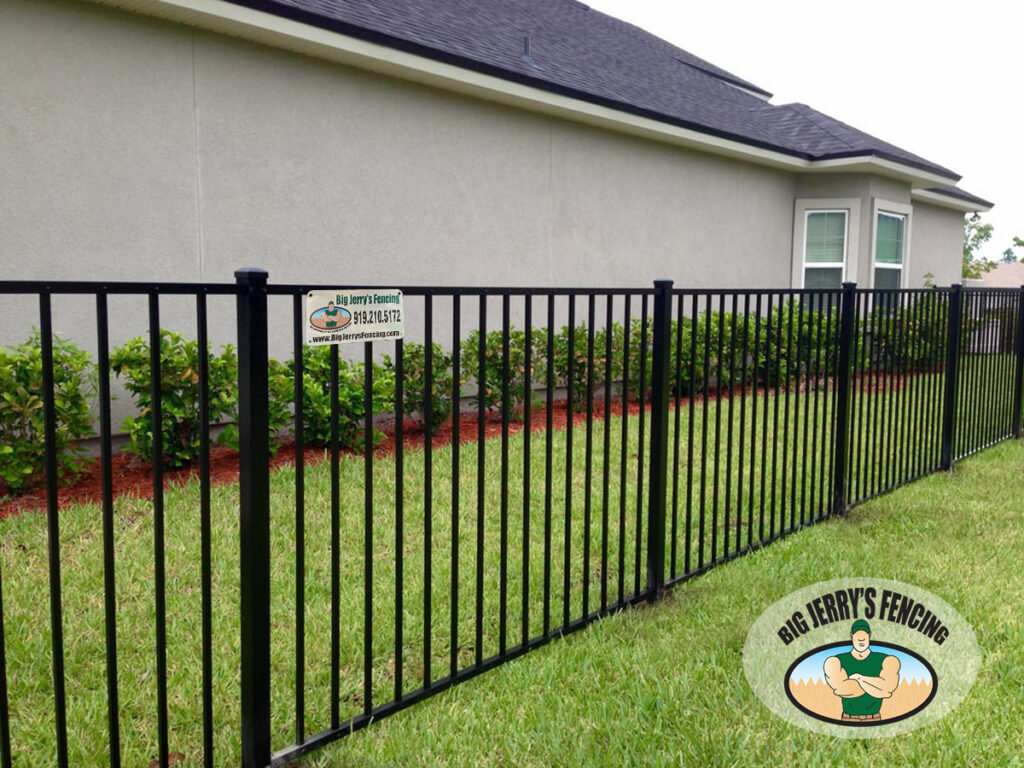
Get Your Aluminum Fence Installed by Big Jerry’s Fencing
At Big Jerry’s Fencing, we make buying fences fast and easy so you can protect your loved ones and your investments. If you would rather let a fence and gate professional do the hard work for you, call or click bigjerrysfencing.com today and one of our local fence experts will reach out to you and assist in providing you with a fair and hassle-free aluminum fence estimate.
Big Jerry’s Fencing is a top-rated fence company located near you in Jacksonville, Florida; Orlando, Florida; Tampa, Florida; Atlanta, Georgia; Eatonton, Georgia; Nashville, Tennessee; Pittsburgh, Pennsylvania; Columbus, Ohio; Boise, Idaho; Baton Rouge, Louisiana; Bentonville, Arkansas; Raleigh, North Carolina; Durham, North Carolina; Charlotte, North Carolina; Clayton, North Carolina; Fayetteville, North Carolina; Greensboro, North Carolina; Creedmoor, North Carolina; Harnett County, North Carolina; and Nash County, North Carolina.
Let Big Jerry’s Fencing add protection, privacy, and value to your home. Big Jerry’s Fencing offers free fence estimates and financing. Get started on your home improvement projects today!


